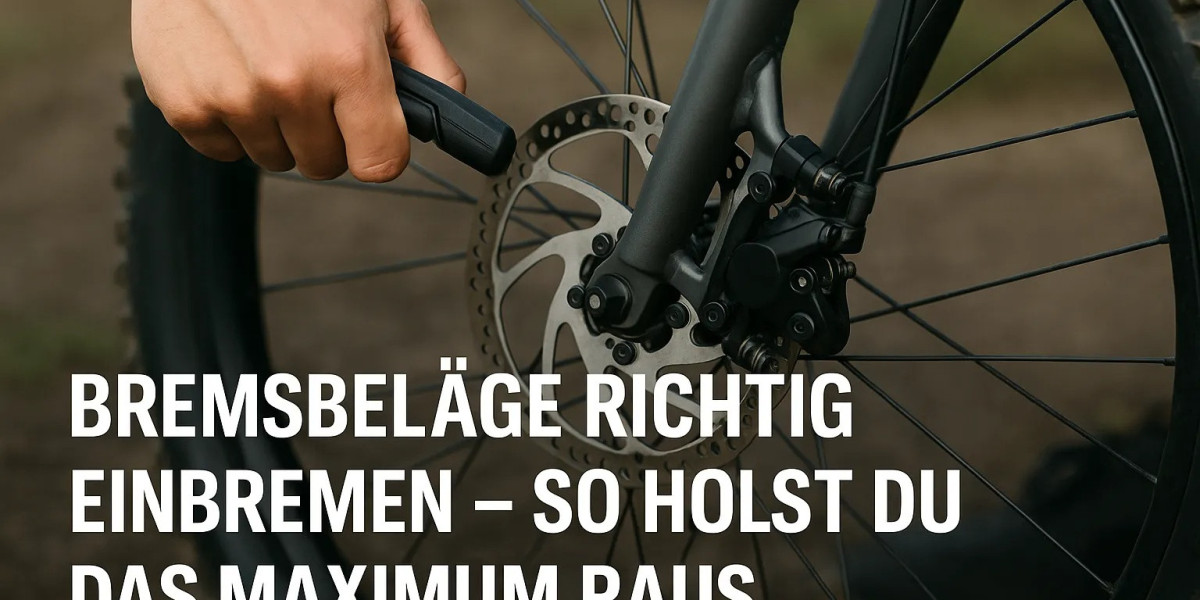
Having reliable brakes is one of the most important safety features of any bicycle. Over time, brake pads wear down from constant use, reducing braking effectiveness and increasing the risk of accidents. Fahrrad Tipps offers essential guidance on how to bremsbeläge am fahrrad wechseln and correctly, ensuring your bike remains dependable without the need for professional help in most cases. Proper maintenance not only prolongs the lifespan of your braking system but also helps keep you safe during every ride. Learning this basic skill empowers you to keep your bike in excellent condition and respond quickly to wear and tear.
Recognizing When It's Time to Replace Your Brake Pads
Before attempting to bremsbeläge am fahrrad wechseln it's crucial to determine when they need replacement. Over time, the pads gradually thin out due to friction, ultimately exposing the metal components underneath. Fahrrad Tipps recommends inspecting the pads frequently, especially if you notice a decrease in braking power or hear squealing sounds during braking. Many brake pads have wear indicators—small grooves or marks that disappear as the material wears down—serving as visual cues for replacement. If the pads are less than a couple of millimeters thick or if you see uneven wear or cracks, it’s time to change them. Doing so promptly ensures your bike’s braking system remains effective and safe.
Gathering the Right Tools and Materials
Before starting the pad replacement, it’s important to have the appropriate tools and materials on hand. Most brake pad replacements require basic tools like a hex wrench or Allen key, a tire lever, and a clean cloth. Fahrrad Tipps emphasizes the importance of using genuine replacement pads that are compatible with your bike’s brake system—be it rim brakes or disc brakes. For disc brakes, special pad removal tools or pin punchers might be necessary. Additionally, having some rubbing alcohol or a cleaning wipe helps remove dirt and residue from the braking surface to ensure optimal contact once new pads are installed. Preparing your tools in advance makes the process smoother and reduces the chance of mistakes or damage.
Removing the Worn Brake Pads Safely
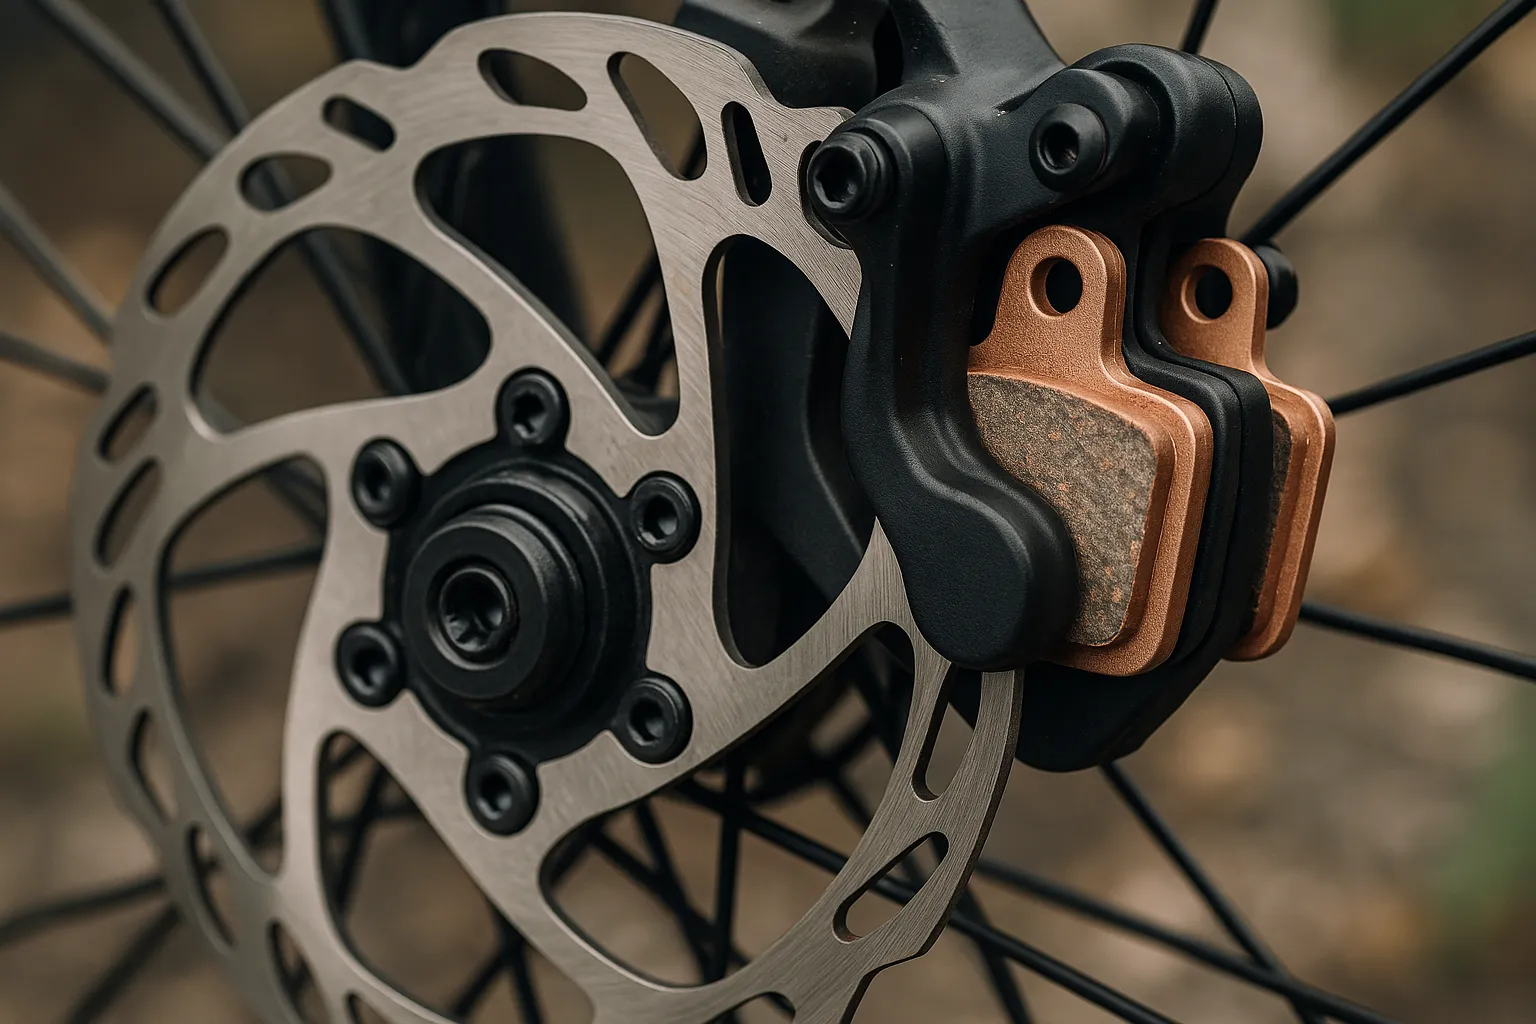
The process of removing old brake pads varies depending on whether your bike has rim brakes or disc brakes. For rim brakes, the pads are usually held in place by a bolt or pin that can be loosened with the appropriate Allen key or screwdriver. Fahrrad Tipps advises to carefully support the brake caliper and release the the pad mounting bolt without applying excessive force, which could damage the brake’s delicate components. For disc brakes, the removal process involves releasing any retaining clips and carefully sliding out the shoes or pads. Take care to note how the old pads are positioned—this helps when fitting the new ones. Always handle the parts gently to prevent bending or damaging the caliper or rotor.
Installing New Brake Pads Correctly
Once the old pads are removed, it’s time to install the new ones. Fahrrad Tipps recommends starting by inspecting and cleaning the brake surface or rotor to ensure there is no dirt or oil that could reduce braking performance. Align the new pads properly with the braking surface or rotor, ensuring they are seated flat and in the correct orientation. For rim brakes, tighten the mounting bolt securely but avoid overtightening, which can cause misalignment or strip the threads. Disc brake pads must be pushed into the caliper until they clip into place. It’s essential to follow the manufacturer’s instructions for your specific brake model to ensure proper installation and to maintain safety standards. Properly fitted brake pads provide maximum grip and braking power.
Adjusting and Fine-Tuning the Brakes
After installing the new pads, you need to adjust your brakes to ensure they are functioning optimally. Fahrrad Tipps advises testing the brakes by gently squeezing the lever to check for proper engagement. For rim brakes, the pads should contact the rim evenly without rubbing against the tire or rim sides. If the contact is uneven, you can loosen the mounting bolt slightly and reposition the pad for proper alignment. Disc brakes often require adjusting the caliper position and ensuring the rotor spins freely without rubbing. Fine-tuning the brake tension and position ensures a responsive braking feeling and reduces excessive wear on the new pads. Always test your brakes in a safe environment before heading out on the road.
Final Safety Checks and Ride Testing
Once everything seems properly installed and adjusted, Fahrrad Tipps emphasizes conducting a thorough safety check before riding. Spin the wheels to ensure they rotate smoothly and that the brake pads do not rub or catch on the rim or rotor. Test the brakes with moderate force, making sure they respond quickly and stop the wheel effectively. Perform a short ride in a safe area or parking lot to feel how the brakes perform under actual riding conditions. If you notice any irregularities, recheck the alignment or tighten loose bolts. Routine checks and careful testing ensure the brakes are functioning correctly, providing peace of mind on every ride and maintaining your safety.