
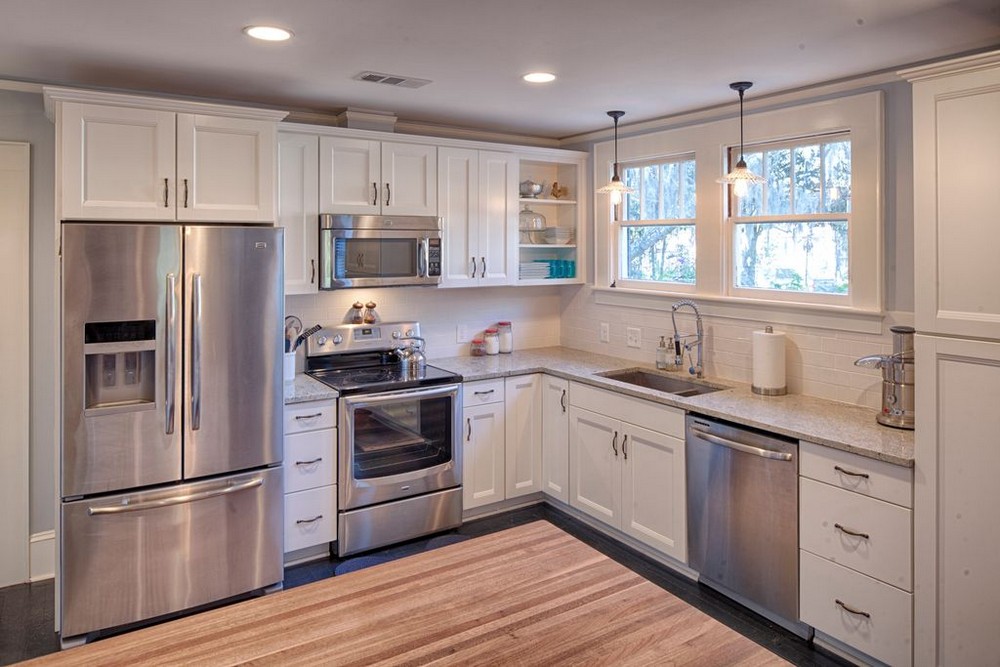
Re-painting your kitchen cabinets is a fantastic way to breathe new life into your kitchen without the expense and hassle of a complete renovation. Whether you want to update the look of your space, increase the value of your home, or enjoy a fresh, new environment, re-painting your cabinets can achieve these goals. In this comprehensive guide, we'll walk you through the entire process of transforming your old cabinets from drab to fab, ensuring a smooth, successful project from start to finish.
Why Re-Paint Your Kitchen Cabinets?
There are many reasons to consider re-painting your kitchen cabinets:
Cost-Effective: Re-painting cabinets are much more affordable than a full kitchen remodel.
Customizable: Choose the exact colour and finish that suits your style.
Quick Refresh: A fresh coat of paint can make your kitchen look brand new in a short amount of time.
Increase Home Value: Updated kitchens can significantly increase the resale value of your home.
Sustainable: Re-painting is an eco-friendly option that reuses existing materials.
Preparing Your Cabinets for Re-Painting
Cleaning and Sanding
Before you can apply a fresh coat of paint, it's crucial to clean and sand your cabinets properly. This ensures that the paint adheres correctly and results in a smooth finish.
Remove Grease and Grime: Use a degreasing cleaner to remove any buildup from cooking.
Rinse and Dry: Make sure to rinse off the cleaner and let the cabinets dry completely.
Sand the Surfaces: Lightly sand the cabinet surfaces to create a texture that the new paint can grip onto. Use a fine-grit abrasive pad for this step.
Repairing Damage
Inspect your cabinets for any damage that needs to be repaired before painting.
Fill Holes and Cracks: Use wood filler to fill any holes or cracks.
Smooth the Surface: Once the filler is dry, sand it down until it's smooth and flush with the rest of the cabinet.
Choosing the Right Paint and Tools
Types of Paint
Selecting the right type of paint is critical for a durable and attractive finish.
Latex Paint: Easy to clean and available in many colours.
Oil-Based Paint: Durable and smooth but requires more ventilation.
Chalk Paint: Popular for a vintage or shabby chic look.
Essential Tools
Having the appropriate available tools will streamline the job and guarantee professional results.
Paintbrushes and Rollers: Different sizes are available for various surfaces.
Primer: Essential for preparing the surface.
Painter’s Tape: For clean edges.
Screwdriver: To remove cabinet doors and hardware.
Step-by-Step Guide to Re-Painting Your Kitchen Cabinets
Removing Cabinet Doors and Hardware
Label Everything: Label doors and hardware as you remove them to make reassembly easier.
Use a Screwdriver: Carefully remove all doors, drawers, and hardware.
Priming the Cabinets
Apply Primer: Use a high-quality primer to cover all surfaces. This ensures better paint adhesion and a more durable finish.
Let It Dry: Allow the primer to dry completely before proceeding to the next step.
Painting the Cabinets
First Coat: Apply the first coat of paint using a brush for detailed areas and a roller for larger surfaces.
Dry Time: Following the manufacturer's instructions, allow the first coat to dry completely.
Second Coat: Apply a second coat for a richer, more even colour.
Inspect and Touch-Up: Check for any missed spots or thin areas and touch up as needed.
Reassembling the Cabinets
Reattach Doors and Hardware: Reattach the doors and hardware once the paint is fully dry.
Check Alignment: Make sure everything is aligned correctly and operates smoothly.
Tips and Tricks for a Professional Finish
Use Quality Paint and Primer: Investing in high-quality materials will result in a better finish and longer-lasting results.
Take Your Time: Don’t rush the process. Allow adequate drying time between coats.
Use Proper Ventilation: Ensure good ventilation to avoid inhaling fumes and to help the paint dry faster.
Practice Patience: Re-painting cabinets can be time-consuming, but patience will yield the best results.
Frequently Asked Questions (FAQs)
Can I re-paint my cabinets without sanding?
While it's possible, sanding ensures better paint adhesion and a smoother finish. It's recommended to sand the surfaces lightly to remove the old finish and provide a rough surface for the new paint to grip onto.
How long does the re-painting process take?
Depending on the size of your kitchen and the drying times of the paint and primer, the process can take anywhere from a few days to a week. Proper drying times between coats and thorough preparation can extend the timeline but will result in a better finish.
What if my cabinets are laminate?
Laminate cabinets can be painted, but they require a special primer designed for slick surfaces to ensure the paint adheres properly. It's important to clean and lightly sand the laminate before applying the primer.
How do I choose a paint colour?
Consider your kitchen's overall colour scheme and choose a colour that complements it. Light colours can make a space feel larger and more open, while darker colours can add drama and elegance. Test a small area first to ensure you’re happy with the colour and how it looks under your kitchen's lighting.
Q: Should I use a brush or a roller?
A: Use both! Brushes are great for detailed areas, corners, and edges, while rollers work well for larger, flat surfaces like the fronts of doors and drawers. For a smooth finish, consider using a high-density foam roller.
Do I need to remove the doors to paint them?
Removing the doors makes it easier to paint all surfaces evenly and reduces the risk of drips and smudges. Lay the doors flat on a work surface to ensure an even application of paint and to allow them to dry properly without any runs.
Conclusion
Re-painting your kitchen cabinets is a rewarding DIY project that can transform the look of your kitchen without the high costs of a full renovation. By following the steps outlined in this guide and using the right materials and techniques, you can achieve a professional-quality finish that breathes new life into your space. Take your time, be patient, and enjoy the process of creating a beautiful, updated kitchen. For more information and professional assistance, visit kitchen-spraying.com.


